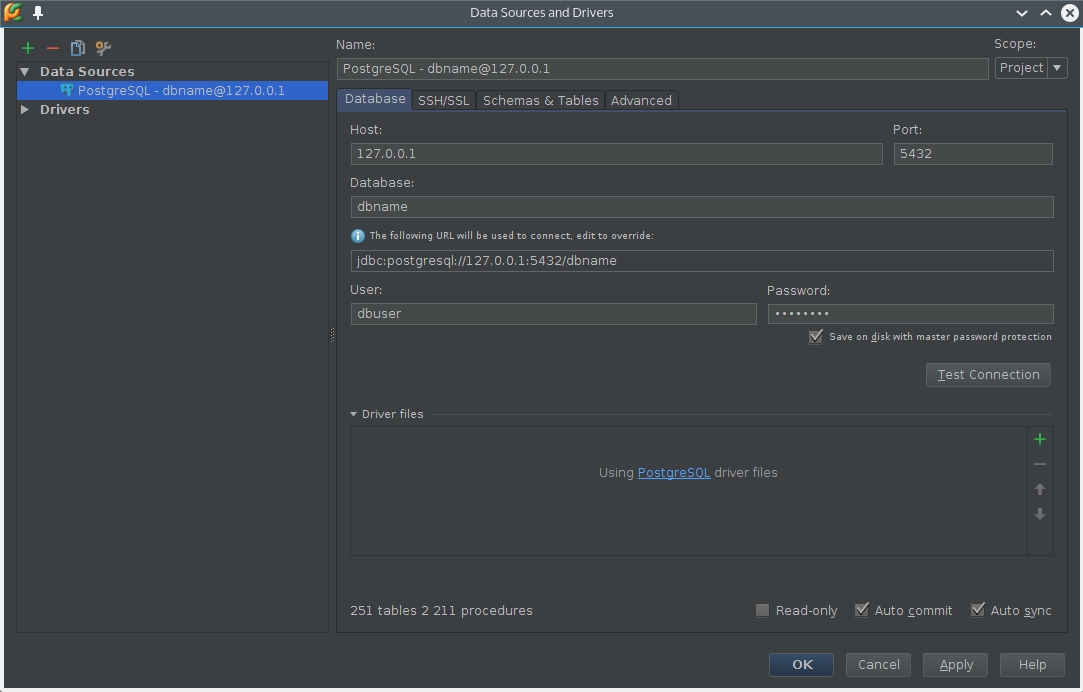
Click on a green plus button in a “Database” editor tab. Then choose “PostgreSQL” and enter your settings. If you didn’t change PostgreSQL settings, defaults should be ok.
Don’t forget to enter your database name, username and password. Host should be localhost or 127.0.0.1, because we are going to connect through SSH tunnel.
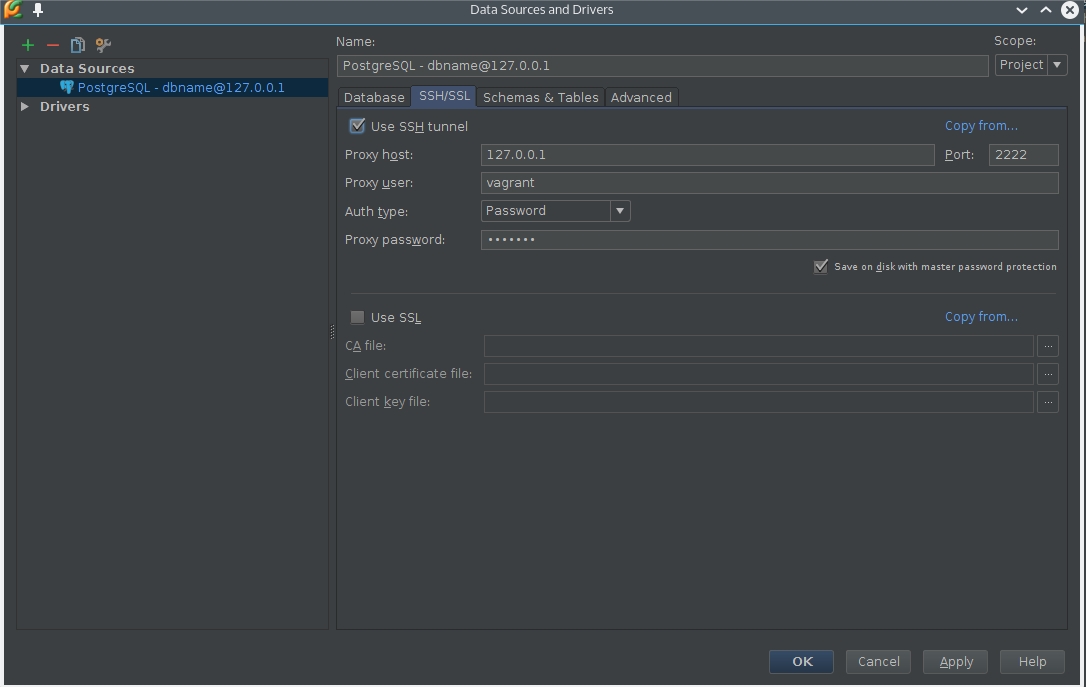
Step 2
Go to “SSH/SSL” tab and check “Use SSH tunnel” checkbox. Then set proxy host to 127.0.0.1, port to 2222, proxy user to vagrant and password to vagrant.
I tried connecting with Vagrant private key (which is usually located in user home folder under /home/user/vagrant.d/insecure_private_key), but that didn’t work: I only saw “Auth fail” message
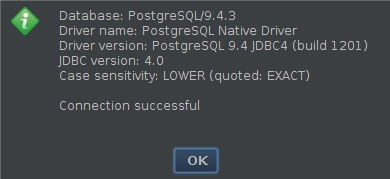
Step 3
Now you are ready to press “Test connection” button on a “Database” tab. You should see a message telling that connection is successfull:
UPD 31 July 2015: For Django and python I now prefer to use requests library and Django management commands. With management commands it is easier to collect data required for generating requests. But I will leave the post here because it can be helpful for someone.
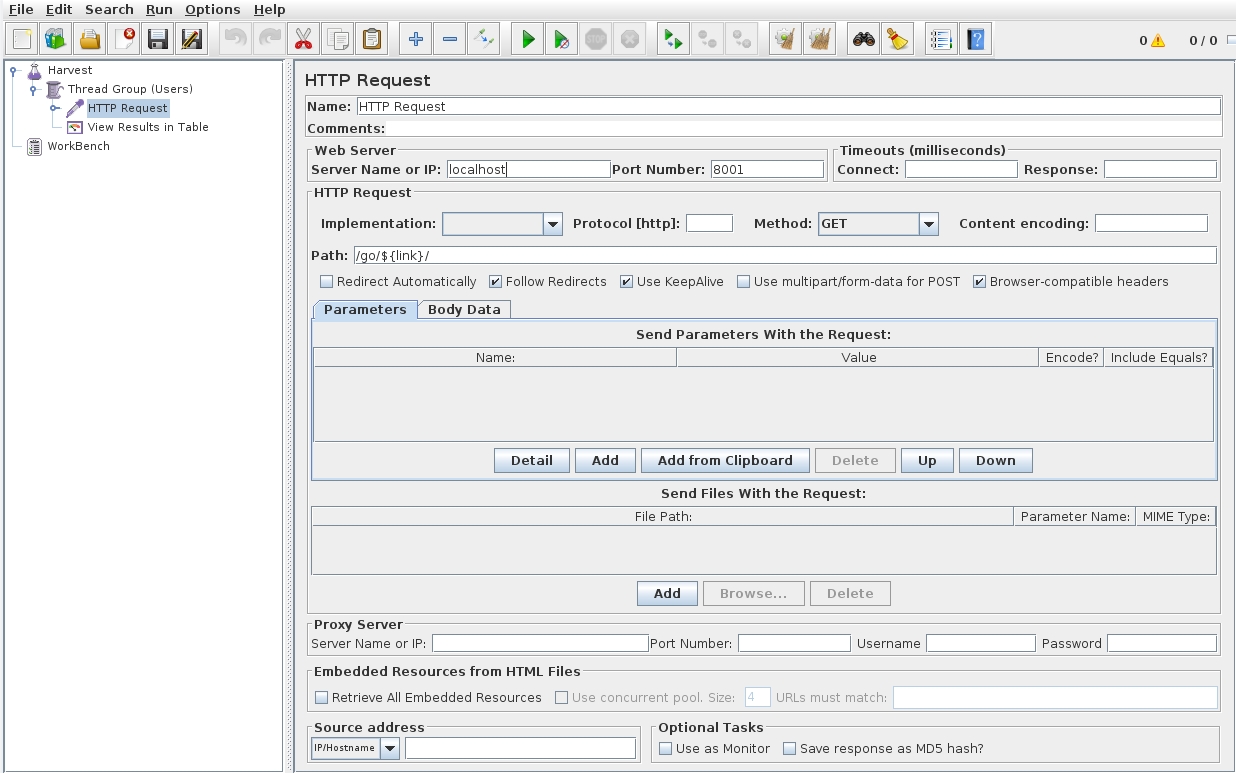
I develop a web application. One of it’s modules collects data from user request (user agent, device etc.) and shows visit statistics. While developing statistic module I needed to generate sample request data.
My requirements was:
ability to generate requests (of course)
ability to use external data sources (links from my application)
easy to run on my local machine
easy to configure
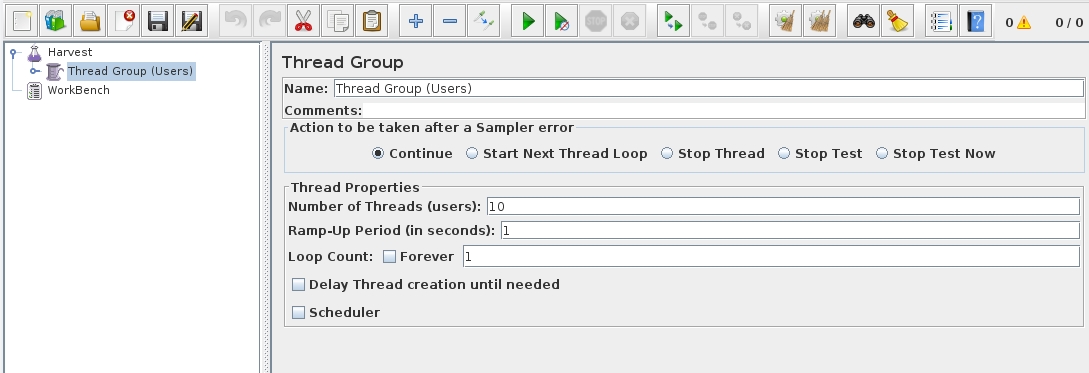
TL;DR: I ended up with Apache JMeter. Although purpose of this tool is load testing, it helped me reach my goal quickly.
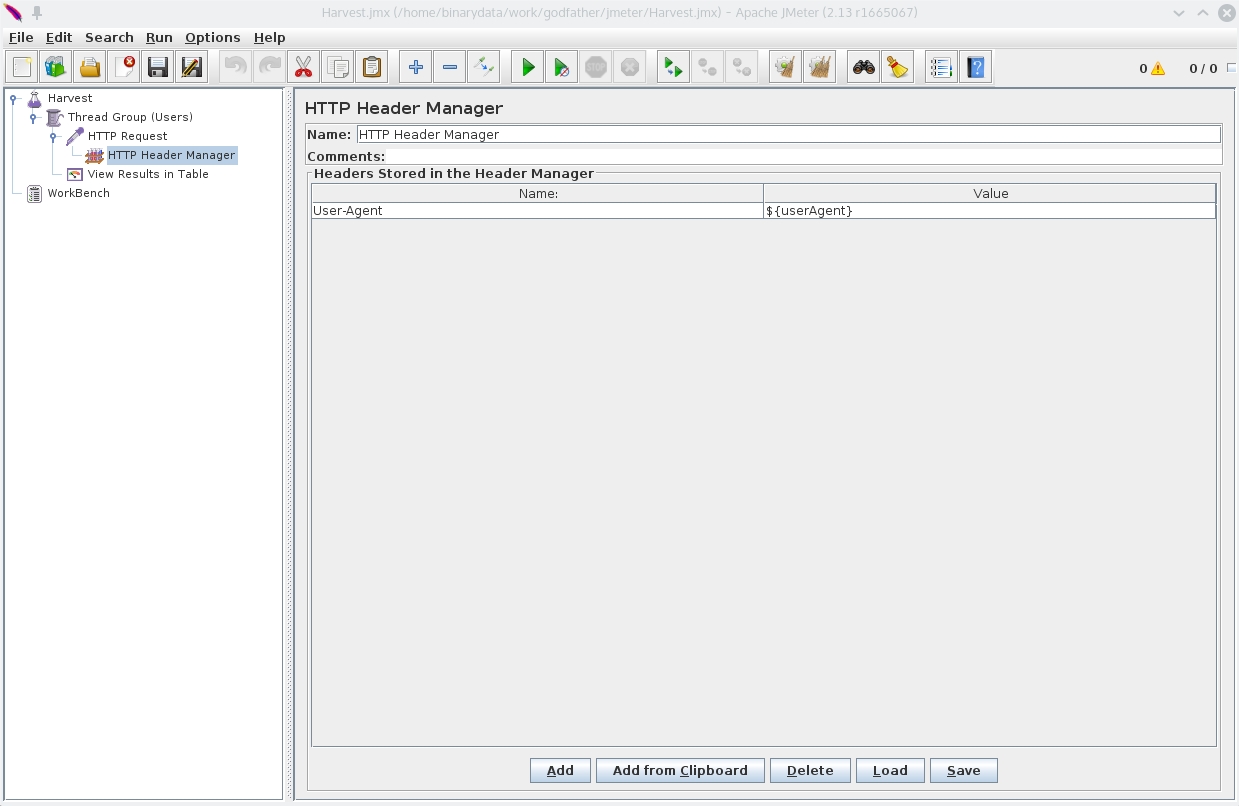
Here you can add necessary headers. There is another variable ${userAgent}.
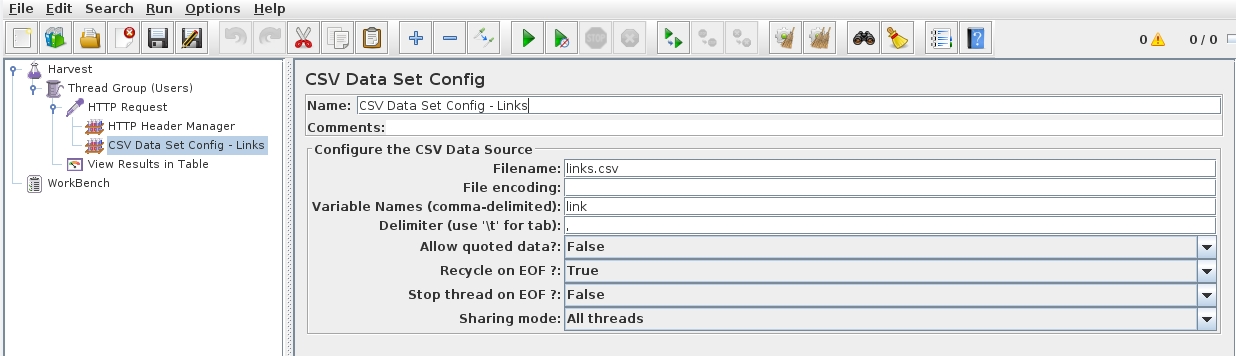
Now we need to populate our variables. JMeter has a tool for that called CSV Data Set Config. It takes data from CSV file.
Here we define a filename, variable name that we used before and csv options, such as encoding and delimiter.
Generate CSV file with my links was pretty easy with simple Django management command (because I use Django)
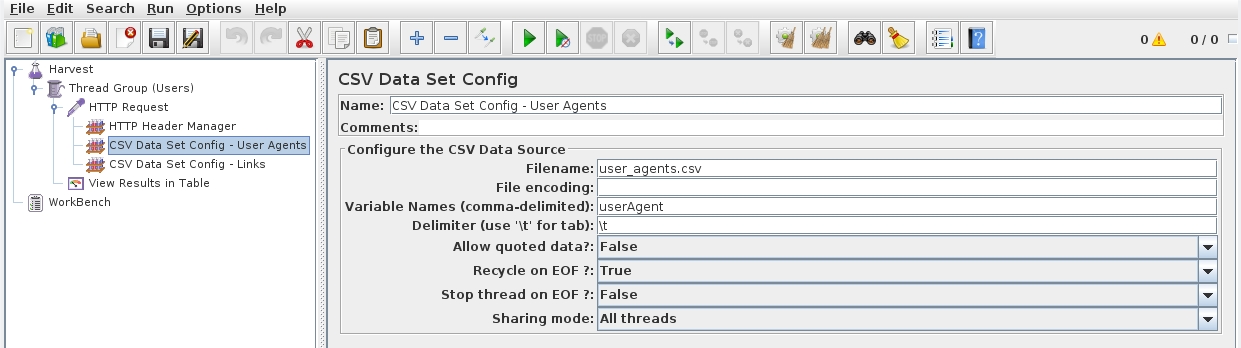
I also needed to use different browser User Agents, so I downloaded CSV list of them here and created another CSV Data Set Config:
Now our variables in HTTP Request and HTTP Header Manager will be populated with values from CSV file. I also set first row in CSV files to match variable names, but don’t know if this even needed.
That’s all! Now we can run our test case.
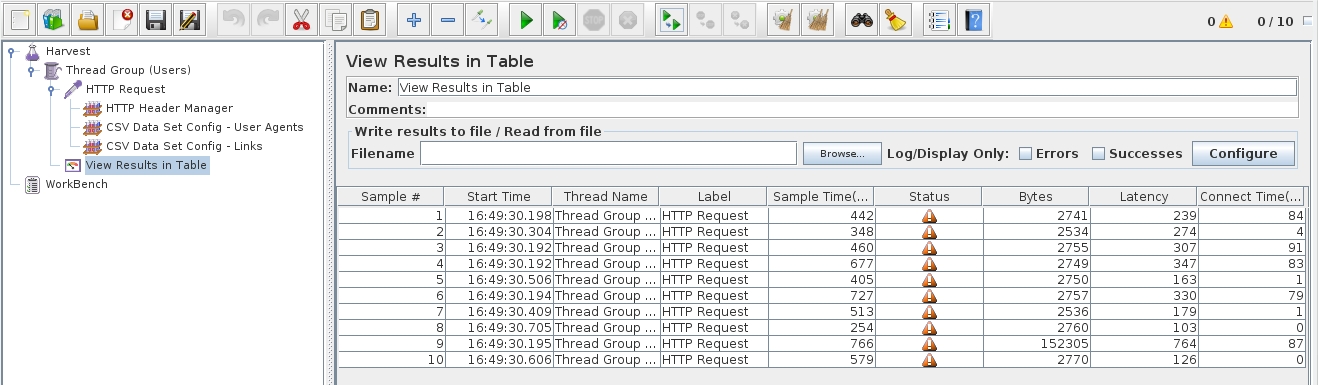
But one more thing: if you want to track requests you need to add listener from “Listener” group (I picked up “View Results in Table”):
Alternatives
JMeter is not the only one. I tried several things:
This one have a simple XML config, which I could populate with external data. But Tsung requires running it on a remote host, and this adds a lot of pain. But maybe I just didn’t go deeper through docs.
Gatling has a nice documentation, but it’s config is written in it’s own DSL. Remember, one of my requirements was “easy to configure”, and I didn’t want to spend my day learning yet another language (too lazy, eh). Also, quickstart section of docs told me that I need to manually collect an initial test case. It is a great feature for testing sites, but not for my goal.
But what wasn’t unclear to me is why there is no add/edit buttons on inline items in the Django admin interface, so I couldn’t add or edit any of related model’s objects.
fromdjango.contribimportadminfromdashboard.modelsimport*classGeoInline(admin.TabularInline):model=Offer.geo.through@admin.register(Offer)classOfferAdmin(admin.ModelAdmin):inlines=(GeoInline,)exclude=('geo',)# Excluding field to hide unnecessary field, as mentioned in the docs
My mistake was that I didn’t register related model OfferGeo in admin.py. After adding admin.site.register(OfferGeo) add/edit buttons appeared.
Final admin.py looks like this:
fromdjango.contribimportadminfromdashboard.modelsimport*admin.site.register(OfferGeo)classGeoInline(admin.TabularInline):model=Offer.geo.through@admin.register(Offer)classOfferAdmin(admin.ModelAdmin):inlines=(GeoInline,)exclude=('geo',)# Excluding field to hide unnecessary field, as mentioned in the docs